Making these vegetable garden beds was by no means a feat in structural engineering, but rather a basic exercise in making do with what was available to me. I have no former carpentry training, except for the few woodworking classes we did at school, which I highly recommend for anybody still at school, but nonetheless, I believe basic construction projects such as these can be accomplished by anyone, with or without prior experience. It would be best, however, to have a basic understanding of safety and design before embarking on a project such as this. As always, there’s lots of great tutorials which can be accessed online, or through books from your local library.
The Basic Design
Essentially, the goal was to make these garden beds as efficient in design as possible, working with the limited materials I had on hand, without relying heavily on power tools to cut boards down to size. The only part of the process that required cutting were the side vertical posts, which act like supports, to attach the horizontal side boards to. The vertical posts were cut with a jigsaw, which is an easy beginner power cutting tool.
The materials used here were sourced from heat-treated pallets and disassembled using a pallet buster/dismantler and a hammer to remove the nails. This process is time consuming and tiring so I wouldn’t recommend it for everybody. The pallets themselves were sourced second-hand for a minimal amount, around $10, but bear in mind there is a lot of extra effort that is required when using pallets as your source of timber.
Remember, you want to make sure the pallets you are using have been heat-treated only, to be safe for use in gardening. You can find information on the different pallet markings online.

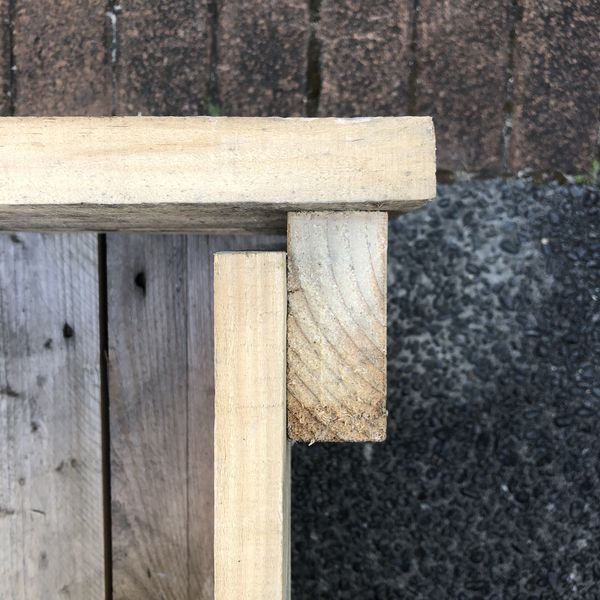
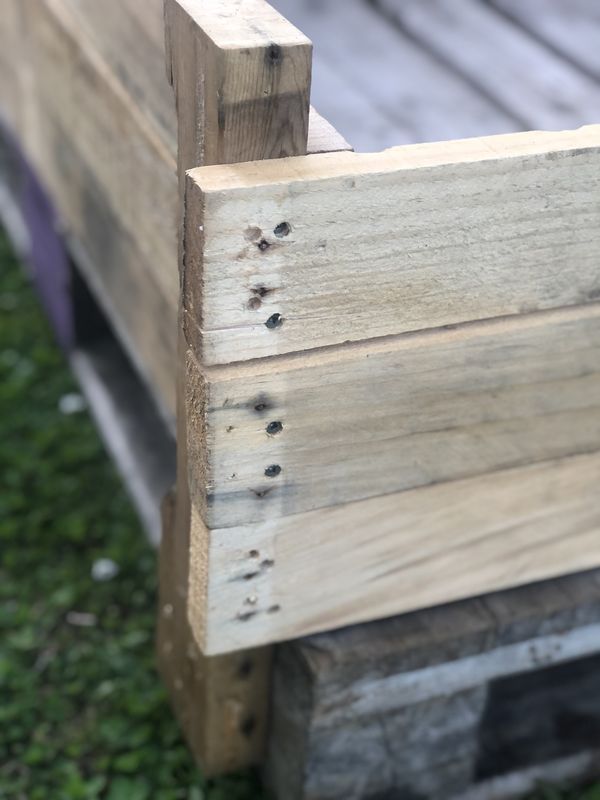
These vertical side posts act as anchors to support the horizontal panels. Two vertical side posts were used per pallet bed, placed diagonally opposite each other. This was the most efficient design I could come up with that saved on wood and meant less cutting with the jigsaw to create the side posts. Outdoor decking screws 50 mm long were used here and are anchored into the base stringer board or block (depending on the pallet design).

Edited image showing placement of outdoor decking screws, which were 40 mm long.
Where some horizontal side pieces were too short or too long, this design allowed some workaround, without having to cut pieces to length. The side pieces are of a similar length to the pallet base itself, being sourced from similar sized pallets.
Two coats of raw linseed oil were applied, which should provide some sort of protection for the wood. Just a note, ‘raw’ linseed oil is nontoxic and completely natural, while ‘boiled’ linseed oil has toxic additives.
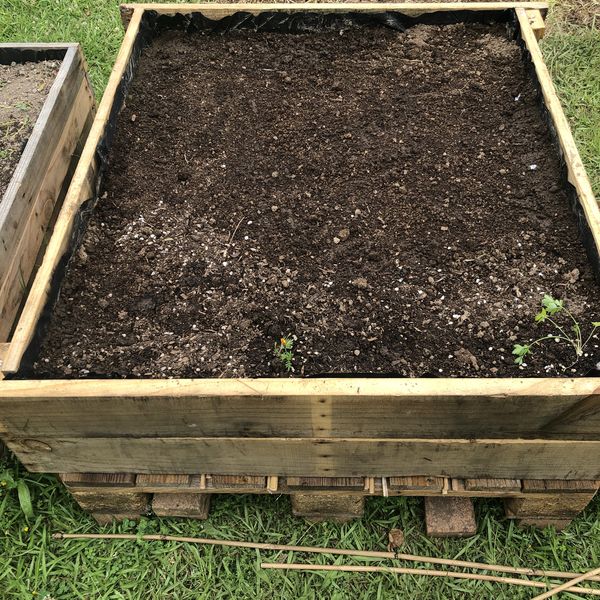
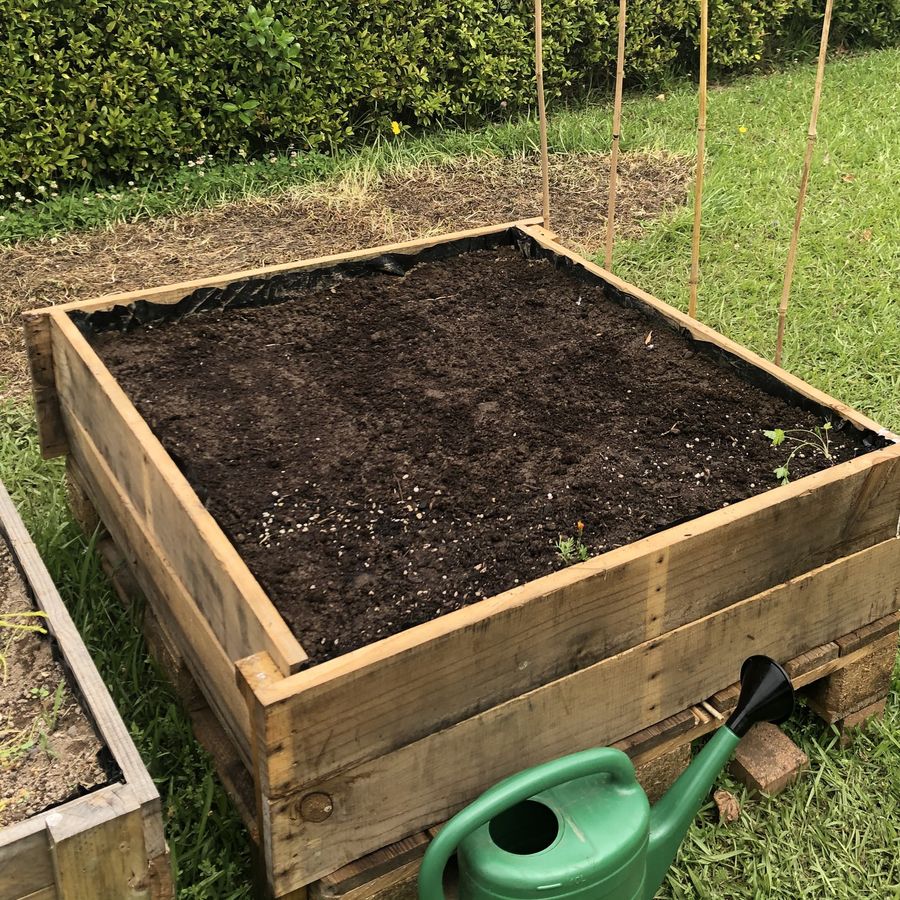
The height of the side walls came to around 250-300 mm, which is probably the bare minimum soil height you would want to have. The outer dimensions are approximately 1100 x 1100 mm.
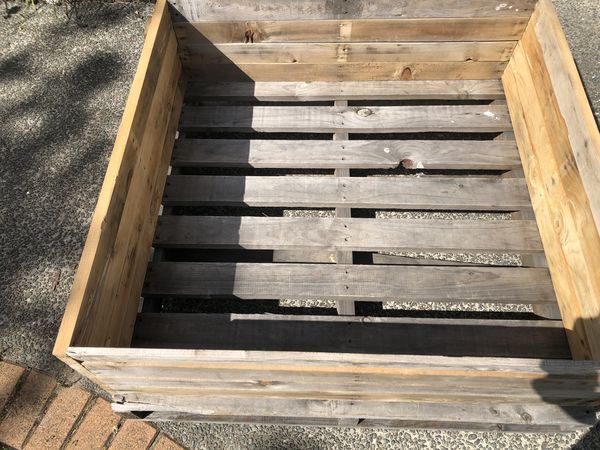
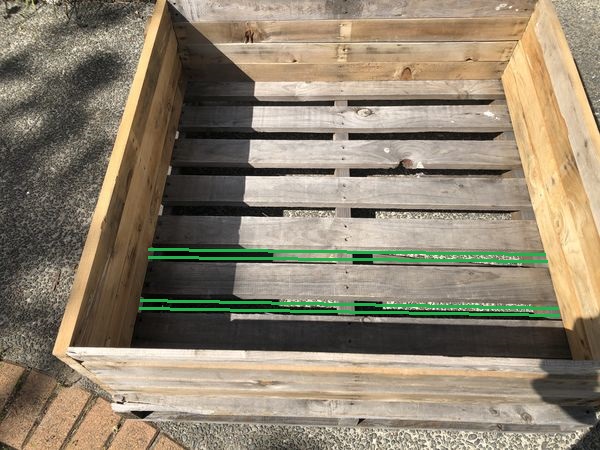
Some of the pallet bases have relatively large spaces between the boards, so I placed some bamboo poles trimmed to length to create a stronger base to support the soil, which you can see as an example in the edited photo below.
Because these garden beds were going to be placed on the lawn, I didn’t want to disturb or potentially kill the grass beneath as much as possible, so I placed bricks underneath at various points to support the beds, thus allowing at least a bit of light and airflow for the grass below.
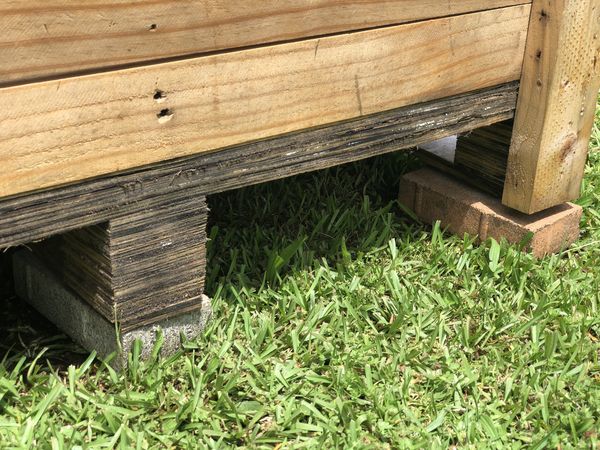
This garden bed you can see here has a plywood pallet style base, which may not be recommended as it’s looking like it will have the lowest life span, as compared with the regular pallet wood base.
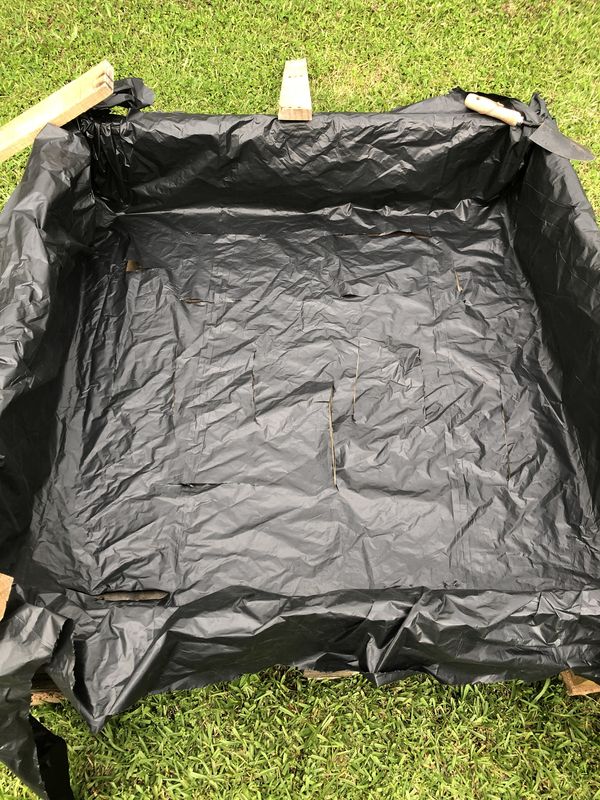
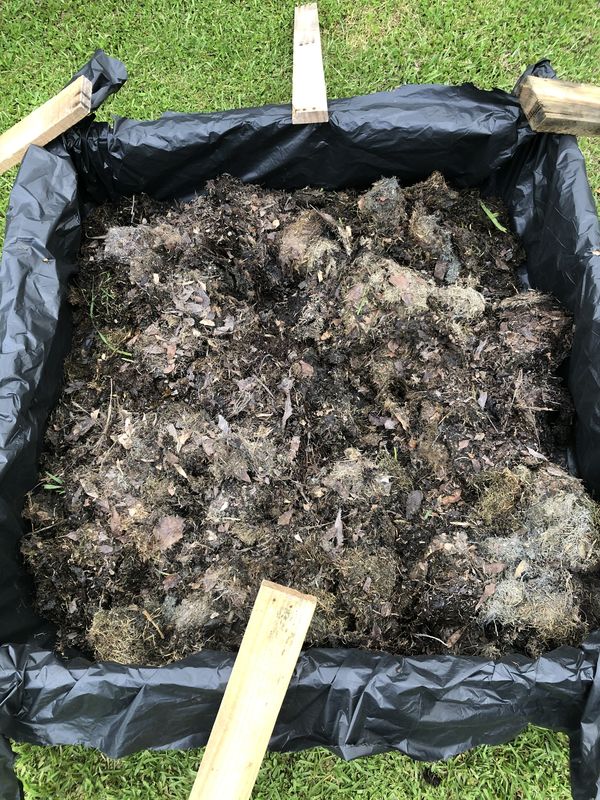
The next step was to line the beds with polythene liner, also used to line ponds, which costs around $21 for a 2 x 10 metre roll. Drainage holes or lines were cut into the liner. The excess liner was trimmed after the beds had been filled.
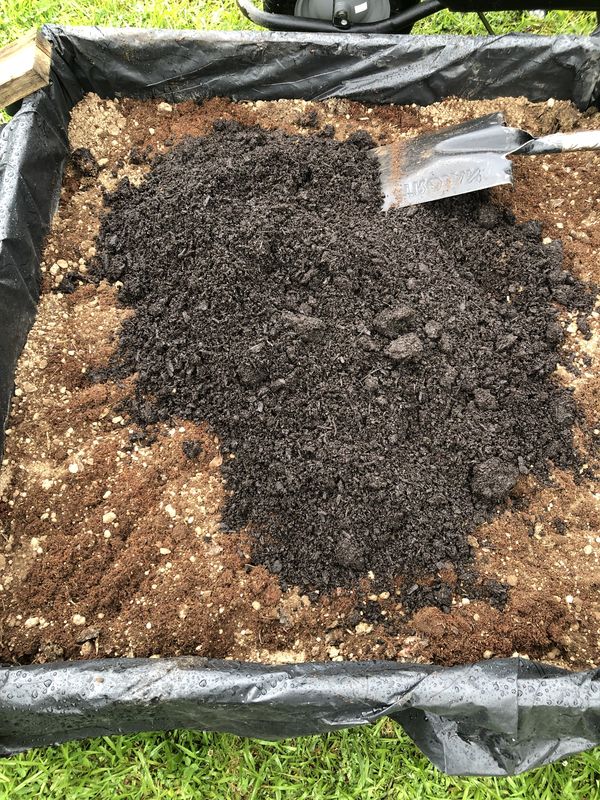
The beds were then filled with the growing medium, consisting of composted grass clippings, chicken compost, coconut coir, fermented bokashi pre-compost and topsoil suitable for growing vegetables. To calculate how much growing medium you will need to fill the garden beds, using an online volume calculator and unit converter (litres, cubic metres, etc) can be a quick way to do this.
Safety Note
When handling soil and compost, you will want to wear some sort of proper respiratory mask (designed to filter out microbes, e.g. P2 or N95 mask, rather than a generic cloth face mask) to protect your airways from potentially harmful compost microbes, as well dampening down the soil/compost mixture with water to make the particles less airborne.
While I would call these pallet garden beds a long term temporary solution, a lot of the basic design principles can be applied to creating more permanent garden beds. This design here is best suited where you are unable to build your garden bed direct over the soil, such as if tenanting the land. If you can build straight over the land (i.e. no base pallet required), then that would be the most ideal situation, which allows for beneficial soil microorganisms and earthworms to grow into your raised beds, as well as increasing the depth of your garden bed.